A trip that moves between warm and cold places needs compatible layers, not necessarily two unrelated wardrobes. The packing builder offers one climate setting as a starting point; mixed-climate planning requires you to adapt that output. This guide separates the daily rotation from weather protection and helps you decide which items can serve both parts of the trip. It does not recommend technical equipment for extreme weather or specialized outdoor routes.
Map the exposure rather than the destination label
A warm destination can still involve air-conditioned transport, cool evenings or a windy waterfront. A cold destination can include mostly indoor meetings with short outdoor transfers. List where you will spend time, how long you will be outside and whether you can return to accommodation to change. Those details affect clothing more than a broad climate label. Consult a current forecast close to departure and keep the plan adjustable. Do not turn a typical seasonal description into a promise about the actual conditions on your dates.
Keep the daily rotation independent of outer layers
Calculate tops, underwear and socks from trip length and laundry first. Then add layers that can go over that rotation. A top that works alone in warm weather may also work under a warmer layer if its fit and fabric are comfortable. This shared base reduces duplicate outfits. Outer layers are not counted as a fresh daily set in the tool, so inspect them separately. If the cold portion requires clothing that cannot combine with the warm-weather rotation, acknowledge the extra volume rather than hiding it inside a supposedly minimalist count.
For the next input check, use Packing List Builder. Its result should retain the assumptions described here.
Choose a transition outfit
The day you change climates is often the awkward one. Decide what you will wear when departing, what can be removed during transit and what needs to be reachable on arrival. A warm layer placed at the bottom of a checked bag is not useful before you collect that bag. Put the transition layer in a location that suits your travel arrangements. Also plan where removed items will go; a bulky coat has to fit somewhere after you arrive in warmth. Packing space and accessibility are part of the same decision.
Review single-purpose extras carefully
Multiple heavy shoe pairs and event outfits can dominate a mixed-climate bag. Ask whether each has a distinct, likely use and whether an existing item can cover that use without discomfort. Some specialized activities do need dedicated equipment, and this general travel list is not a substitute for their requirements. For ordinary travel, a layer that is only useful for one uncertain evening may be a candidate to omit. Check the full weight and closed-bag dimensions after the weather additions rather than assuming the base packing result remains valid.
A related planning question is covered in A family packing system that avoids shared-item gaps.
Handling the bulky return leg
The coldest stop is not always at the beginning. If you buy or add a warmer layer later, the return bag can have a different volume and weight from the outbound bag. Make a second inventory scenario before leaving and include that possible layer with a realistic measured or clearly estimated weight. If you intend to wear it in transit, check where it will go when you remove it. A carry-on packed to its physical limit has no room for a coat that looked harmless while worn. The same issue applies when a warm stop follows a cold one: outer layers become stored contents rather than active clothing. Review the return configuration, not only the departure photograph of a neat bag. If the scenario does not fit, make a deliberate choice about bag size, item selection or acquisition plans. The aim is a coherent whole-trip kit, with one compatible daily rotation and enough space to handle the point when the most bulky item is least likely to be worn.
Worked example
Worked example: Noor has eight travel days, with five warm city days followed by three colder indoor-focused days. Laundry is available after day four. She calculates a five-set daily rotation, then builds the mild-climate checklist and adds two warm layers plus an outer layer for the colder stop. One warm layer travels in her accessible bag on the transfer day. She avoids doubling underwear and tops by treating the same daily rotation as the base for both climates. A spare shoe pair would add 750 g, so she evaluates it against the actual events before including it. She checks the forecast shortly before departure and changes the outer-layer choice if the expected exposure changes.
Reference table
| Item or scenario | Value or choice | What to remember |
|---|---|---|
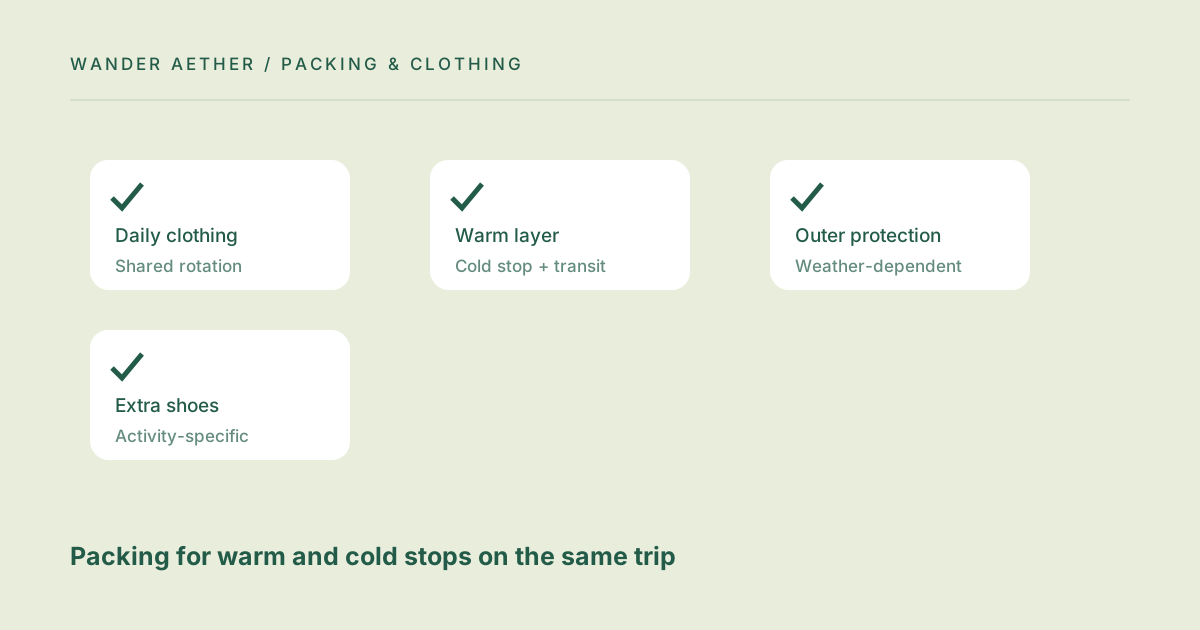
| Daily clothing | Shared rotation | Calculate from laundry, not number of climates |
| Warm layer | Cold stop + transit | Keep one reachable on transition day |
| Outer protection | Weather-dependent | Review with the departure forecast |
| Extra shoes | Activity-specific | Count weight before committing |
Before you finish
- Write down indoor and outdoor exposure for each stop.
- Calculate the daily rotation only once.
- Check that layers combine comfortably over the base clothing.
- Keep arrival layers accessible during the transfer.
- Allow room to store bulky items at the warm stop.
Your next step
Use the checklist as a base inventory and add mixed-climate notes to the exported text. A useful final list shows which items serve both stops and which serve only one. This makes later removals deliberate: you can see the activity or exposure that would be left uncovered before taking an item out.
Continue with A seven-day packing list with one laundry stop. When your plan needs the next calculation, open Baggage Weight Estimator and carry over only the inputs appropriate to that tool.